Here's what I've learned from recording 25 of my own audiobooks.

A guest post by M.L. Buchman.
One of the big topics in audiobooks is “Read by Author” vs. “Professional Production.” I’m one author who doesn’t think that one precludes the other. As a matter of fact, I do it all in-house. Not saying it’s easy, and it’s a crazy learning curve, but here’s what I’ve learned (so far).
READ BY AUTHOR
First, what’s this debate? In short, imagine two readings:
- A pro reads it and does the best job they can with the book, or
- The author reads it and, although the voice may be far less professional and adept, it is read as the author intended when they wrote it.
For me, the ultimate example of this is Stephen King. When he records his own audio, he just reads the book—no drama, not even much emotion. However, I find it to be absolutely riveting because you can hear... you can feel every comma he used. With just a few simple punctuation marks he can control when I breathe, what my pulse rate is doing, how I feel about the moment, if… let’s just say there’s a reason he’s Stephen King. I’m not a horror fan but, oh my, what a master of the craft.
In case you can’t tell, I lean wa-ay over toward the “Read by Author” side of the debate.
BEGINNING
Everyone thinks that there’s a massive investment in getting audio on-line. There is, but in “Read by Author” the investment isn’t monetary—it’s time. The professional is either paid for that time or the author invests that time. And that can be a huge issue.
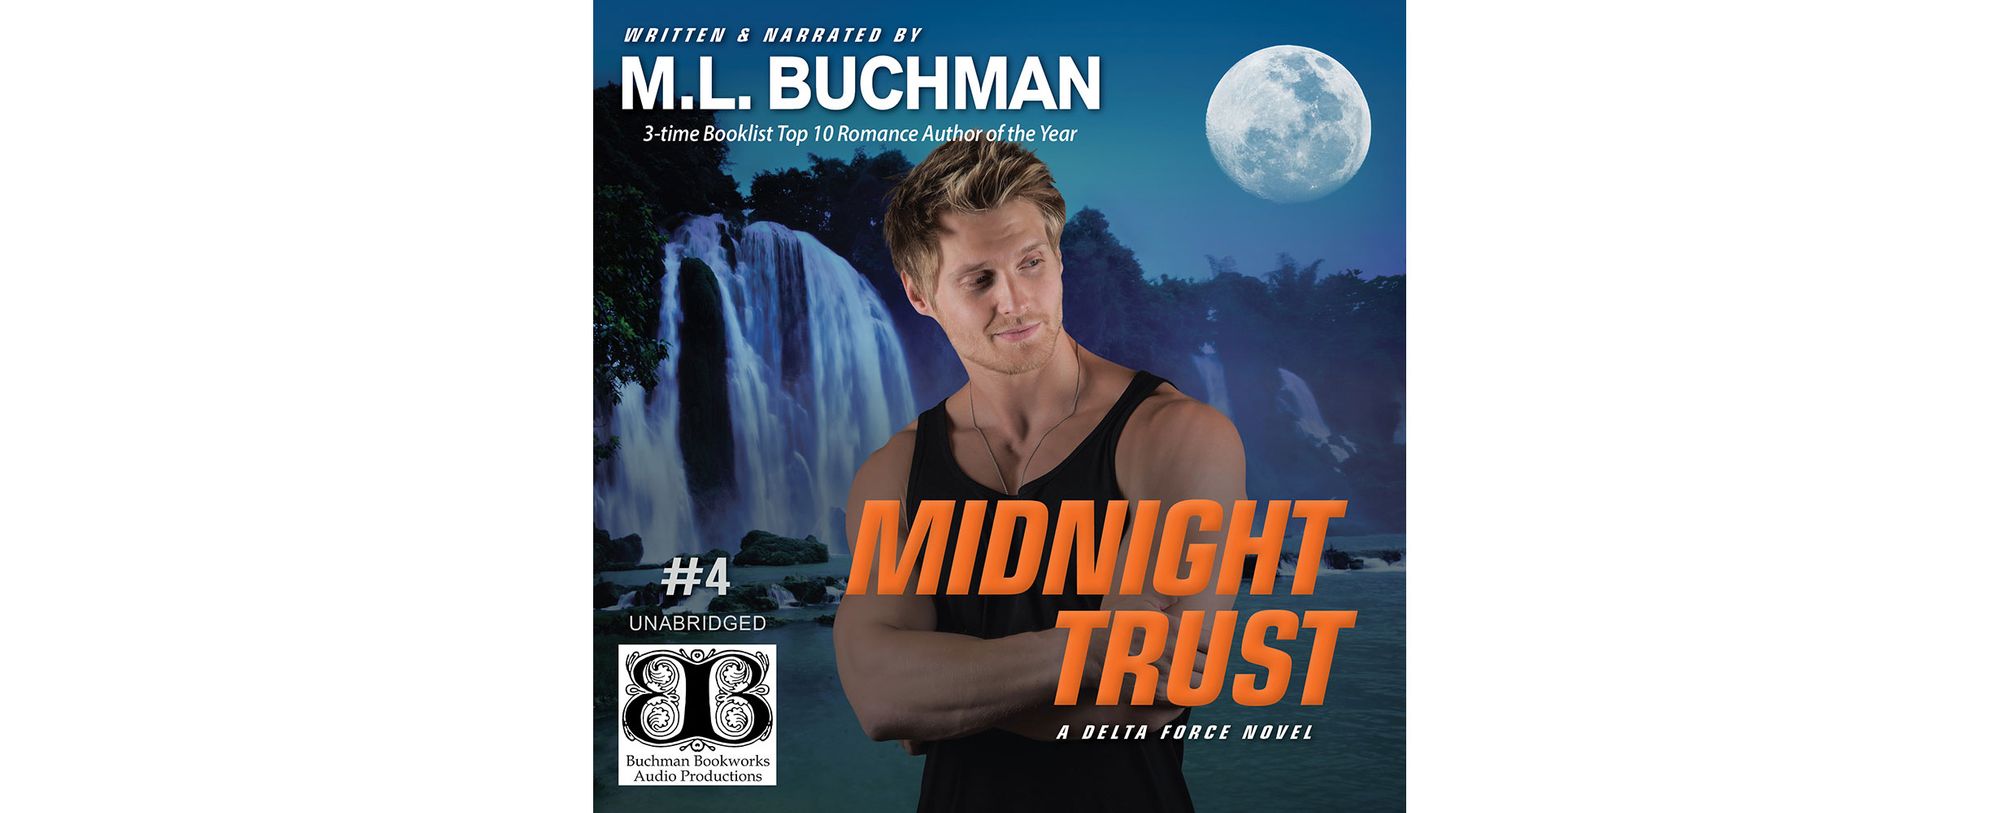
A beginning audiobook process typically lands around the 8-10 hours of work per finished hour (each hour of finished audio will typically encompass about 9,000 words). For example, I just completed an 86,000 word book—Midnight Trust (#4 in my military romantic suspense Delta Force series). Its finished recording time was 10 hours and 13 minutes. At 8–10 Hours of work to get one Finished Hour of audio (H/FH). That’s 82–103 hours... a huge investment of the most precious capital: a writer’s time.
And yes, that’s what it took me in the beginning, some 20 titles ago.
This title took roughly 1/3 that long. Here’s how I did it.
SETUP
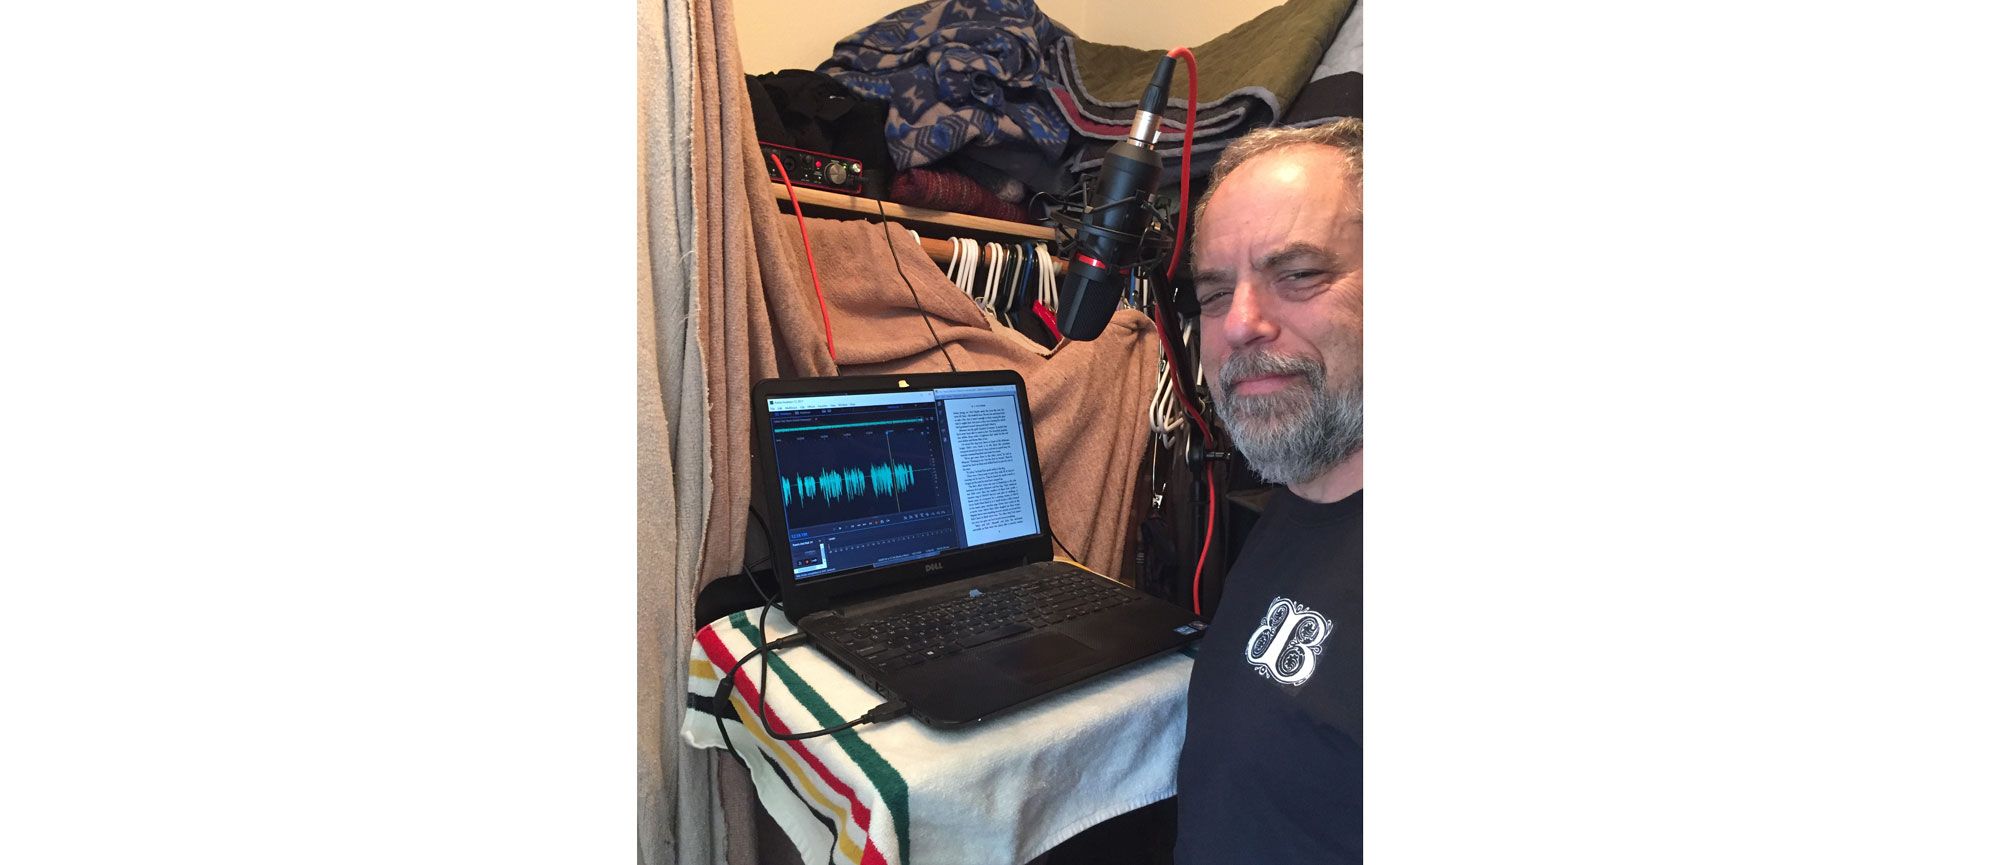
Place
Stand in your kitchen or dining room and snap your fingers. It’s a sharp, clear, bright sound. Now go stand at the foot of your bed with a cloth hanging on the wall above the pillows and close the curtains (pin a piece of fabric over the windows if you have blinds). Snap your fingers again. It’s a much softer, less “ringy” sound. If you have a big closet filled with clothes, hang an old blanket over the inside of the door and snap your fingers again. Even deader? The two later options are near ideal recording situations. (Hard rooms suck for audio recording, so avoid them.)
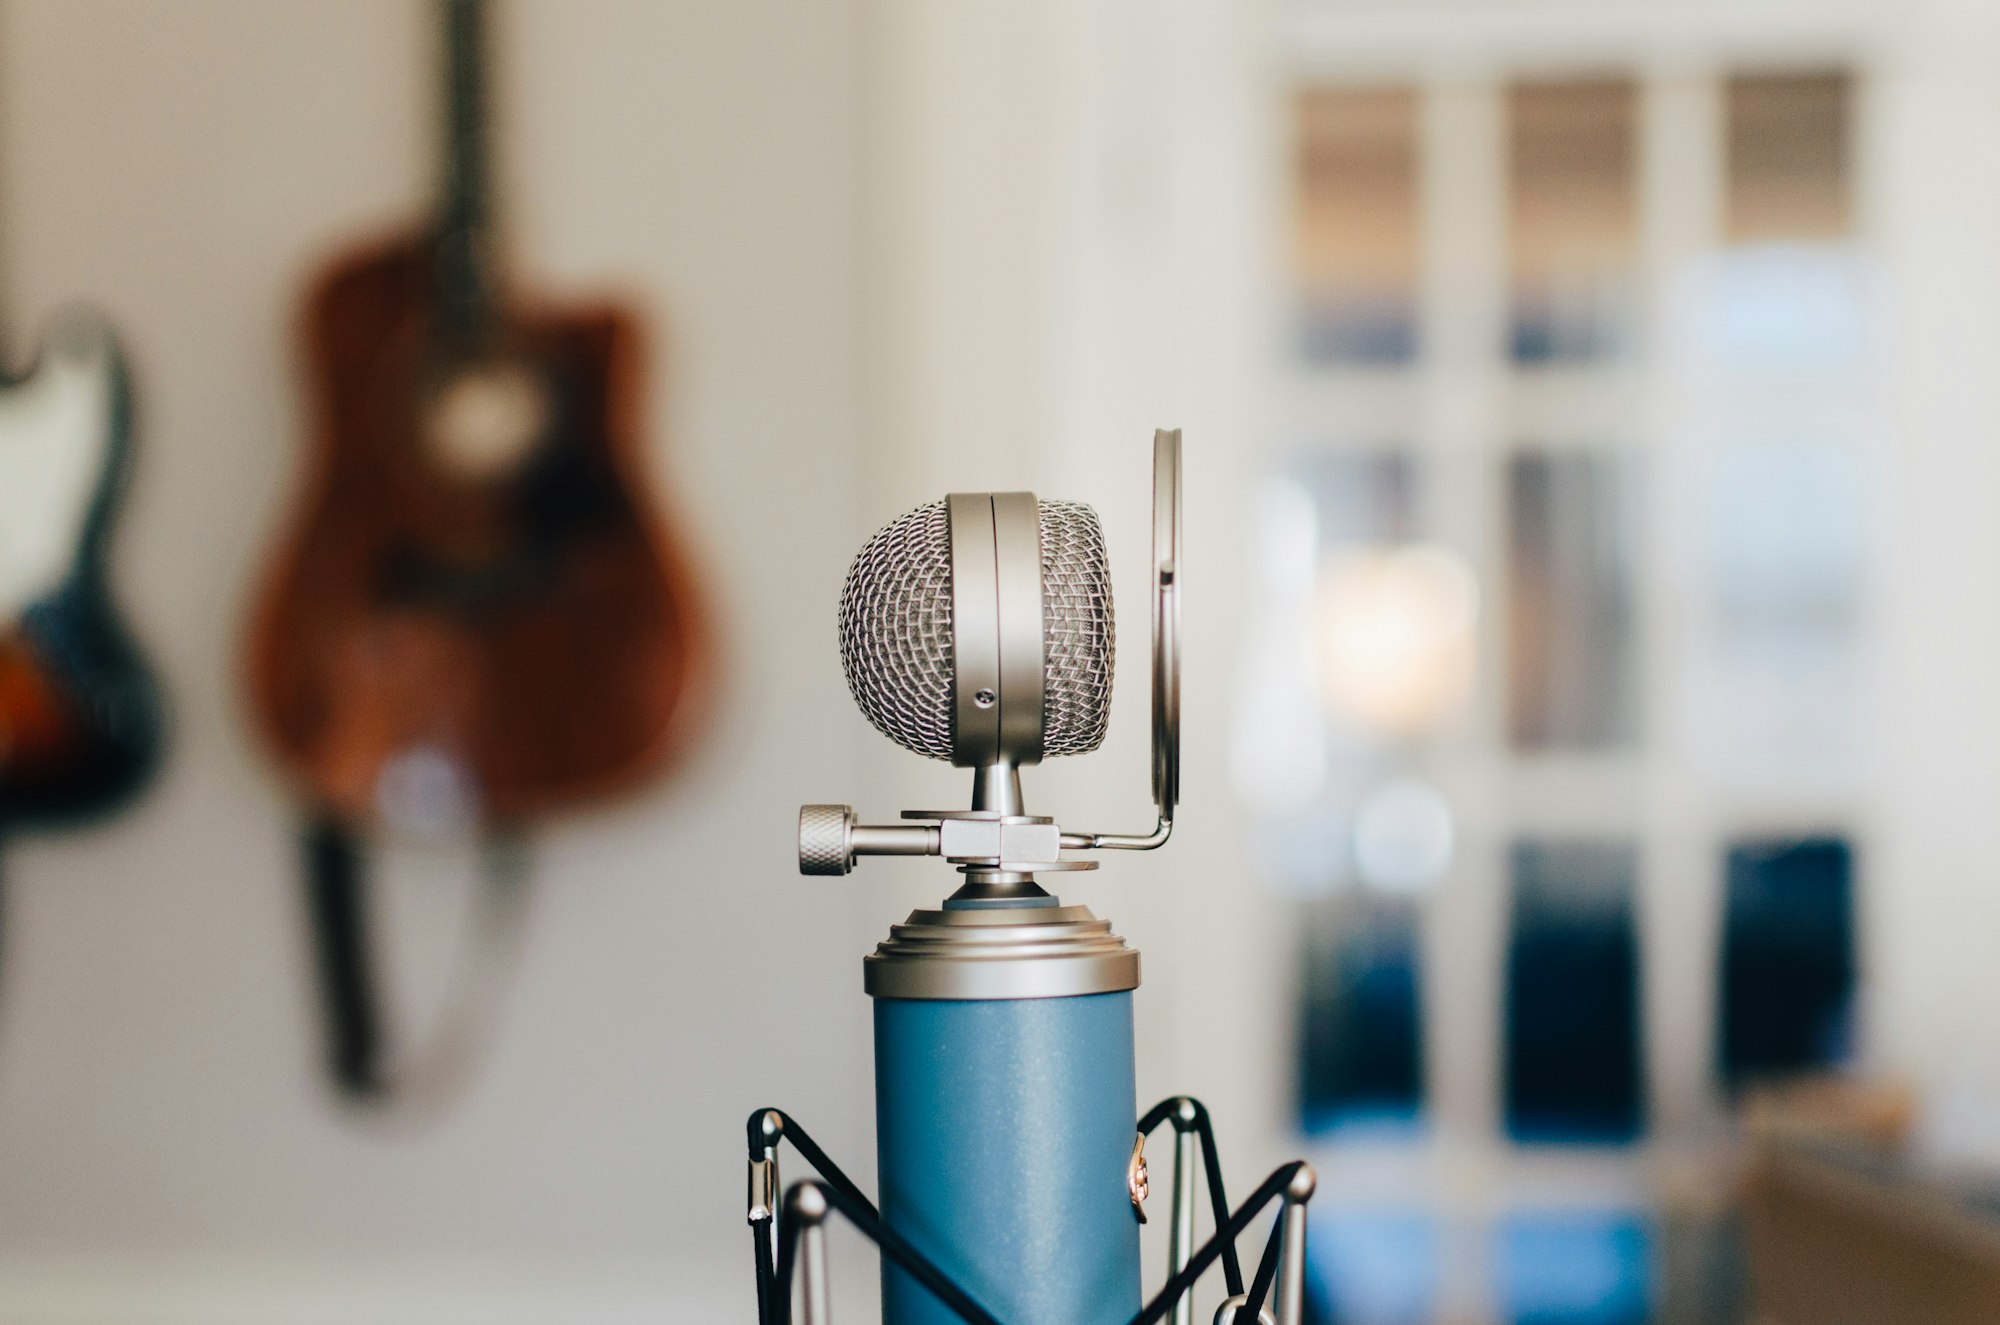
Equipment
After a lot of testing, I purchased a Scarlett Studio II (mic and pre-amp that plug into your computer’s USB port) (about $200) and you have a studio. Unless you have a noisy computer fan in which case you need to add a longer cable for your keyboard and screen to get away from the noise. (I use a laptop.) [Why not a better mic? See my endnote below.]
Software
This is crazy crucial and I’ll explain why below. I tested 10 different platforms including GarageBand, free ProTools, and a mess of others both Mac and PC. All of those will cost you an extra 2-3 H/FH. Pay the monthly fee and get Adobe Audition. If you already subscribe to Adobe Creative Cloud, then you already have access to it. Download it. Use it.
RECORDING
I started out taking 2–3 hours of work to get to one finished hour of audio. Worse, the readings were flat and awkward. I cringe at my earliest recordings. That’s why I started with short stories—learn and move on. Take an acting class, listen to others' audiobooks, go to a play and ignore the plot—listen to the actors. Do whatever it takes to let you decide how dramatic you want your books to be.
Me? I suck at accents. I suck at foreign words too, even though I write with them. Google every pronunciation. Get that right. For my romances, I essentially use three basic voices: the middle tone narrator, the lower toned hero, and the lighter toned heroine. Nothing fancy. Why? Because I suck at accents. Instead, I simply try to differentiate the voices for the listener.
There are a ton of other tricks: warming up your voice before every session, drinking water with some lemon juice to keep down phlegmy sounds, thinking about enunciation (constantly), etc. Rather than using a pop filter and speaking directly into the mic, I hang it upside down in front of my nose and angle it down to aim at my mouth. This lets my “popping” breaths pass below the mic rather than hitting it. (Free tip: I have a post-it on my mic that says, “Energy.” If I sound bored reading, my reader will be bored. Don’t do that.)
If I sound bored reading, my reader will be bored.
Most of these tricks are to save time in the engineering task—the better the recording, the less the engineering. Practice took me from 3+ H/FH to record down to 1.5. That 10:13 Delta Force title took me 15:40 to record. Oh, and every time I made an error, I stopped the recording, backed up, and started again from just before the mistake. When I hand off my recording, each chapter is a single, continuous piece. No cutting and splicing for the engineering stage. Every step I take, every bit of improvement I can make in the narration, is to make a cleaner original which saves engineering time. (My engineer gives me improvement notes after every title.)
ENGINEERING
We dropped this task to 30% of its original. How? Adobe Audition. Here’s our process:
- Record cleanest possible copy
- Before closing, check to make sure there’s nothing extreme (“pop” breaths or overloud speaking show up clearly and must be fixed at this stage)
- (Here the unusual change and why Audition is awesome. We used to do this after the engineering was finished, now we do it before. This is possible due to the low error rate in narration.) We run our effects stack—now! It’s a set of automatic adjustments to the recording. This took me a full week to build and get it dialed in properly (as in 50-60 hours of work). I worked in live theater as a soundman a long time ago, so I knew the vocabulary ahead of time (somewhat). You can take a class (Lynda.com) and also crank your way through YouTube. I did both. But here are the basics of our “stack” (each of which must be understood and used with care for good results).
Our Stack
- Automatic click remover—clears out spit bubbles that popped unnoticed in my mouth, I also have an irritating sound on a hard “C” that took me a while to train out.
- DeHummer—just in case there are any line hums.
- Dynamics Processing (is awesome)—I use it to diminish (without removing) all softer sounds such as breaths.
- DeEsser—fixes my S sounds but must be used very lightly.
- I use a combination of Mastering and Graphic EQ—fixes the acoustics of my voice, microphone, and recording space to get the most pleasant listening tone. (This and the dynamic processing take the longest time to get right.)
- Single-band compressor—shifts the softer and louder sounds to a more similar volume so that the final recording isn’t too quiet, then blasting, then too quiet.
Engineering
Now the engineer comes in. Rather than reacting to every little problem, Audition has ironed most of those out. During a detailed listen, the engineer is now paying attention to the reading quality as much as the recording quality. Did I pause too long between sentences? The engineer can snip out a bit of the lull. Is there a recording issue? They give me a note. There’s a lot more to it than this, but the point is that it isn’t a horribly complex process.
I trained my engineer on the technical skills, but the real skill she brought? She’s a trained musician. Rhythm, beat, and flow are what she lives for. Because of the week I spent engineering that Effects Stack, she can spend her energy on making it the best read possible.
Before handing it back, the engineer's final task is fixing Peak Amplitude and Total RMS to the vendor’s requirements.
Then I go through the step of fixing or occasionally rerecording (but any patches have to be fully reprocessed, so I try to just fix them mechanically with some of Audition’s other features). Bad spots where I gurgled a word are a pain. My initial recording is now good enough and my engineer skilled enough, that this title took me barely an hour to fix all the issues in the 10 finished hours of audio.
Uploading the audio to 3 separate vendors takes me about an hour total.
I've learned a lot over the course of recording and producing 24 titles (122 hours of finished audio). It used to take me 8–10 hours to get one finished hour of audio, now it takes about 3.5 hours. The total time invested to produce the audio for Midnight Trust? 37 hours.
FINAL THOUGHT
When we think of audiobooks, we think of studio perfection. We test our recordings on speaker systems of immense quality or $500 studio-grade headphones. Guess what? Our listeners are using the phone and earbuds on the treadmill, having Alexa read to them while they’re making dinner, or while commuting in noisy traffic.
Yes, an audiobook should be well-recorded and processed, and as error free as possible. And sometimes going for a professional narrator is the right choice. My costs are $29/month for Adobe Audition plus me and my engineer’s time.
For me? If it took me 10 hours to get 1 finished hour of audio, it wouldn't be worth it. At 3.5? Totally worth it.